
Jan's Working with the Web
Convert: Doc to HTML
Now it is time to practice converting an existing document to an HTML document.
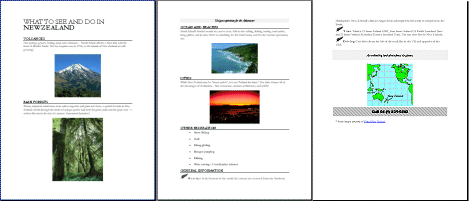
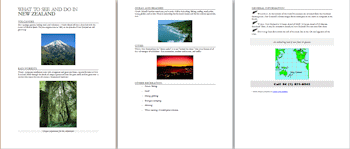
The document you will start with is a simplified version of a brochure about New Zealand. The original brochure is shown on the previous page. I deleted the parts that are useless on the Web. We don't really need the address label, for example. The result is not particularly good as a printed document! Too much wasted space.
NZinfo.doc
| |
Step-by-Step: Convert to HTML |
|
| What you will learn: | to convert a Word doc to HTML to compare to the original to see some of the problems in converting |
Start with: ![]() , resource files, Microsoft Word
, resource files, Microsoft Word
In this exercise you will convert a Word document to HTML using Word.
It is important to carefully check a converted document. There will be changes from the original.
Convert .doc to HTML
- In Word open the document NZinfo.doc from your resource files.
Where to find the file -
On your hard disk in the installed resource files in the NZ folder-
web project2\NZ\NZinfo.docOnline - http://www.jegsworks.com/Lessons/resources/web%20resources/HTML/NZ/NZinfo.doc
On your Class disk -
[drive letter for your Class disk]:\class\web project2\NZ\NZinfo.doc -
 View Print Preview in Word.


 Word 97, 2000, 2003:
>


 Word 2007, 2010, 2013, 2016:
>
- Make a list of features that you think may change or
vanish when the document is saved as HTML.
- From the menu select-
Word 97: > with file type HTML document (*.htm; *.html; *.htx)
Word 2000/2003: > with file type Web page (*.htm; *.html)
Word 2007, 2010, 2013, 2016: > >
with file type Web page (*.htm; *.html)
 Save the document as NZinfo-Lastname-Firstname.htm to your Class disk in the subfolder NZ of the web project2 folder. The images will be saved to a
subfolder of NZ named NZfinfo-Lastname-Firstname_files.
Save the document as NZinfo-Lastname-Firstname.htm to your Class disk in the subfolder NZ of the web project2 folder. The images will be saved to a
subfolder of NZ named NZfinfo-Lastname-Firstname_files.
You may see one or more message boxes.
The web page shows in Word now in Web Layout view instead of Print Layout.
- Open the Header/Footer.
Old versions: >
Word 2007, 2010, 2013, 2016: > >
- Type your name, tab once, insert the date, tab again, type Web Project 2 . Close the header.
- Save.
[NZinfo-Lastname-Firstname.htm]
- View Print Preview and check the number of pages.
If more than 3, change the page margins to 0.5" on all sides so that it fits on 3 sheets.
-
 Print the HTML document from Word.
Compare to Original
- Inspect the original document Word document
in Print Layout and the web page you just printed.
- Find any differences. Some may be subtle. Some may not be so subtle! It depends on what version of Word you used. How accurate were the guesses you made earlier?
|
|
| © 1997-2017 Jan Smith All Rights Reserved |
Site Map What's New |
Privacy Policy Terms of Service Copyright Acknowledgements |
~~ 1 Cor. 10:31 ...whatever you do, do it all for the glory of God. ~~
Last updated: March 22, 2017