Jan's Working with Words
AutoTools: Exercise Word 2-2
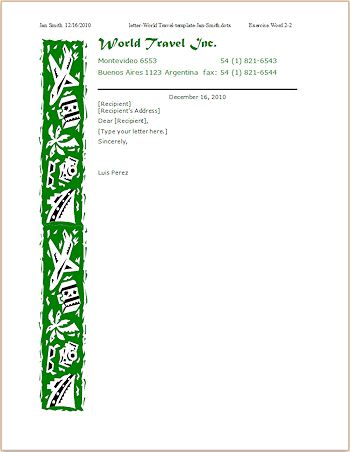
 The styling of the letter you formatted in
Exercise Word 2-1 from World Travel, Inc. would make a nice
letterhead. You will create a template based on this letter by removing the particular
text and inserting temporary text. You will insert fields where appropriate.
Exercise Word 2-2: Template - World Travel
| What you will do: | Create a template from an existing document |
Start with:![]() , Show Marks is on, ex2-1-letter-Lastname-Firstname.docx
, Show Marks is on, ex2-1-letter-Lastname-Firstname.docx
Save often!
- Open the letter you created in the previous exercise, ex2-1-letter-Lastname-Firstname.docx
-
 Save
As a template to your Class disk in the word
project2 folder with the name ex2-2-template-Jan-Smith.dotx
 - Replace
Date with Date Field:
Select the date. From Insert tab select Quick Parts > Field > Date and choose the style like December 16, 2010. Center, if necessary.Your letter template now has a field that will automatically use today's date when you create a new letter. The date may or may not show a gray background before you hover over it. That's a choice in the Word Options dialog.
- Replace Recipient
name: Select the name Sandra Green and replace with [Recipient]
- Replace the address: Select the address and lines
and replace with [Recipient's address]
(If you select the name and address lines all at once, and replace with 2 lines, you will lose the 0 pt Space After settings.)
- Replace Salutation: Select the Greeting and replace it with: Dear
[Recipient],
- Replace Body: Select
the body of the letter and replace it with: [Type your letter here.]
- Delete the Enclosure lines at the bottom.
 Edit Header: Change "Exercise Word 2-1" to Exercise Word 2-2.
(Of course this header is used only for classroom purposes!)
- Insert Filename: With marks showing, click to the
left of the Tab arrow at 3.25" on the ruler for the header. Insert the file's name using
Quick Parts > Field > Filename. Drag the center tab on the ruler to 2.0".
- Pre-Print: Correct
spelling errors. Check for errors with Print Preview.
 Save.
Save.
-
 Print.

These exercises use files from the word resource files. The default location for these files is c:\My Documents\complit101\words\
Save the documents to your Class disk as you make changes. These files are Read-Only so that you cannot save them in the original place. This keeps the original resource files intact in case you need to start over or another student will be using this same computer.