View Menu:
Here is our first example of the subtle changes between versions. What differences do you see in the View menu?
|
Word 97
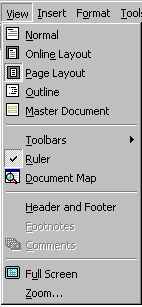 |
Word 2000
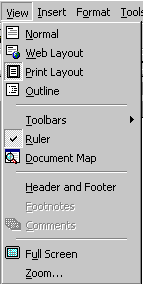 |
Word 2000 recent commands only
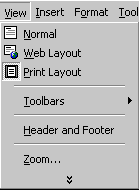 |
 Word 2000 changes the name of the view Online Layout to Web Layout and
uses the Outline view to manage Master Documents. The view Page Layout is now called Print Layout.
 Word 2002
adds the Task Pane command to the View menu.
 Word
2003 adds a new view, Reading Layout.
 All Office 2000/2002/2003 programs by default will show only the commands on a menu
that you have recently used. You will see the whole list if you
leave the menu open for a short while. You can turn off this feature so
that all commands are shown all the time.
 View buttons: The buttons for
some of the views are just above the Status bar
on the left: Normal, Online Layout/Web Layout, Page/Print Layout, Outline.
 In
Word 2003, the buttons are similar, but include the button Reading Layout

The Views
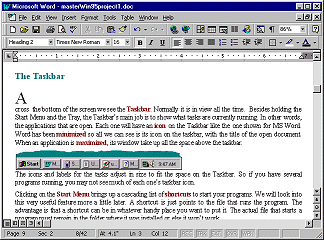 Normal view: This is the default
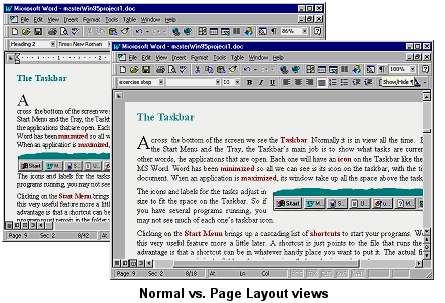
view. You can clearly see what you are typing and editing. But, pictures, text boxes, and frames are not positioned on the page. They are just stuck between paragraphs.
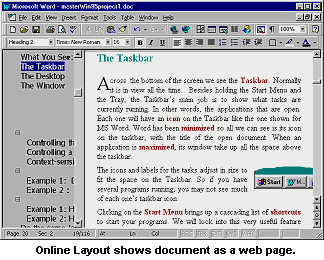 Online/Web Layout:
 The Online Layout view shows how your document looks when viewed as a web page. The text will wrap to the window rather than wrapping to the page. By default this view includes a Document Map (an outline) on the left. If you click an item in the map, you are moved to that spot in the document on the right. You must assign heading paragraph styles to your text for this to work right.
Page/Print Layout: Everything is positioned on the page. This view is good for adjusting margins and columns, headers and footers, and for working with drawing objects, text boxes, and frames. On a slow computer this view can be painfully slow since the computer has to figure out where to put all the parts. This is why some people prefer to work in Normal view as much as possible. But the Page Layout view is more natural since you can see where everything is as you work.
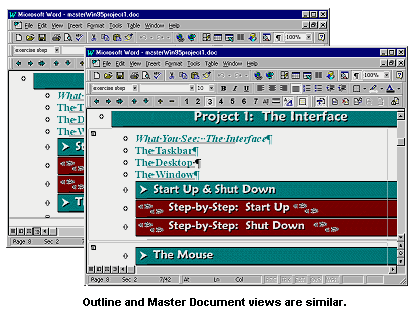
Outline: The document's paragraph styles are used to create an outline. In this view it is easy to reorganize whole sections of a long document. This is an advantage over the Normal and Page Layout views where large amounts of text are hard to move around. But, you must assign paragraph styles to your text carefully for this to work.
 Master Document:
You can combine several documents into one master document. This is useful for long documents or for documents for which different people write different parts. It looks a lot like the Outline view, but the outline entries are coming from more than one document. Word 2000/2002/2003 includes the Master Document features in the Outline view.
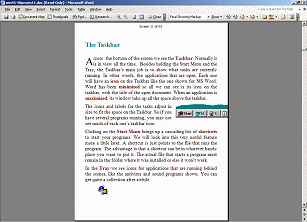
 Reading Layout: The goal of this view is to make the document easier to
read on the computer screen. It shows only the Reading and the Review
toolbars. Fonts are sized for easy reading. Large images may not fit. Pages with
columns or tables may be easier to read in Print Layout.
The "pages" are screen pages, NOT how the document will print!
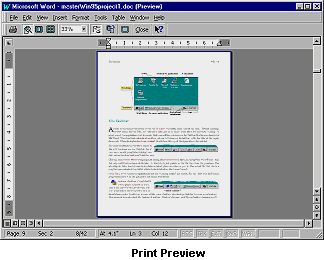 Print Preview: Though it is not on the View menu, Print Preview is a very important view. It displays exactly how the document will look after being printed. You can display several pages at a time to check the headers and footers and how the document flows from page to page. You can even edit while in this view.
You switch to the Print Preview view with | or the button
 on the toolbar.
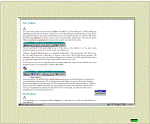 Full Screen: This view removes all the window parts,
allowing the maximum use of your screen. This is useful when your monitor is small or your page is wider than usual. It's a shock if you change to Full Screen view accidentally!
Full Screen is also on the menu, down at the bottom.
When Full Screen is on, however, the menu bar is not shown. So how do
you turn it off? You return to a windowed view by pressing the ESC key or by clicking the Close Full Screen button on the floating toolbar that shows only when using Full Screen. It's a very small toolbar, so you might not see it right away.
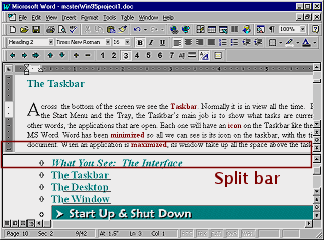
 Split:
This view shows two parts of the same document at once. To create a split, point with the mouse pointer to the split box at the top of the scrollbar.
The pointer changes to a resize shape
 . Drag downward and the document window splits horizontally. Each section has its own scrollbar. You can even use a different style view for each split.
