![]()
Excel Basics:
Format Columns

Did you want Working with Numbers: 2007,2010,2013,2016 or
español![]()
|
|
Excel Basics:
|
|
||||
|
|
||||||
|
You can apply almost every kind of formatting to whole columns at once. Just select the column(s) and apply the formatting. This is handy when a whole column should have bold text, for example, or uses Currency formatting for numbers. This kind of formatting is discussed in Project 3. Column Width: The formatting that is unique to columns is Column Width. There are several methods in the Step-by-Step below that you can use to adjust the width of your columns. Each is most useful in certain circumstances, so you do need to be aware of them all. Column Width is measured in characters. A column's width can be from 0 to 255 characters, which is a REALLY wide column! Decimal values are allowed. In fact the default size is 8.43 characters (= 64 pixels where a pixel is the smallest dot on the screen). A width of 12, for example, means the column is wide enough for 12 average characters, using whatever you chose as the Standard font. The default is Arial 10 pts. This is set in | | | .
|
Project 2: Excel Basics
Search Glossary Appendix |
|||||||||||||
Start with:
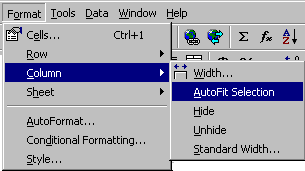
Column Width: AutoFit selectionYou sometimes want a column to be wide enough for a particular cell's contents, but want other cells to wrap any longer lines in them. You will learn about the wrap command later.
Column Width: AutoFit all
Column Width: DragDragging is a natural method of adjusting column width. But since you can't see the change until you release the mouse button, it may take you several attempts to get a satisfactory width.
Column Width: Dialog
~~ 1 Cor. 10:31 ...whatever you do, do it all for the glory of God. ~~ |
||||||||||||||
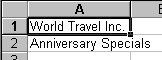
 Select cell A1,
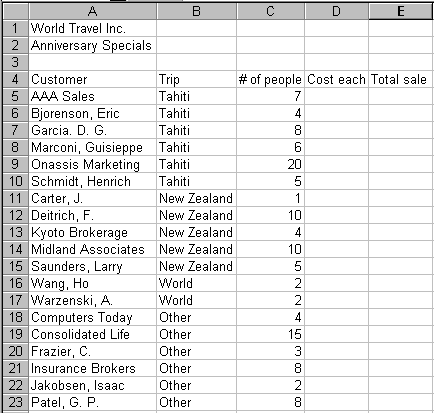
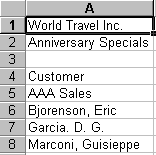
 Note that cell A2 still overlaps its neighbor and several cells further down the sheet are cropped by the non-empty cells to the right.
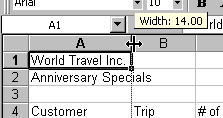 Move your pointer to the right edge of the heading of Column A until it changes to
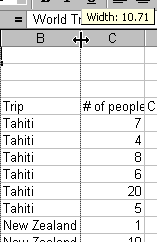 Move the pointer to the right edge of column heading B.
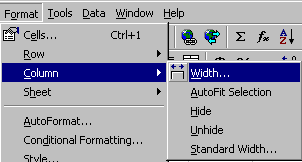 Choose
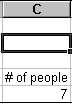
 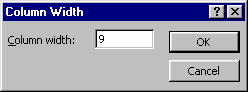 Type a new width of 9 and click OK. Now Column C is just large enough to hold the label