
Jan's Working with Words
Report: Template
When you need to create a fairly standard document, Word has some templates that can speed you on your way. A template will include some temporary text so you can see how the parts fit together.
- Read this temporary text. Sometimes there are important tips about how the template works.
- Don't forget to replace the temporary text!
You will create a report based on one of Word's templates, but you will modify it in several ways.

| |
Step-by-Step: Report Template |
|
| What you will learn: | to create a new document using a template to remove unnecessary parts of the template to deal with warning messages to replace temporary text to insert a file into a document to update style automatically |
Start with: ![]()
![]() , report.docx from resource files
, report.docx from resource files
Create New Document from Template
The templates available from Microsoft change over time. The template that earlier versions of these lessons used is no longer available for download from Microsoft. So this unit has been revised to use the current version of the template, Business report (Professional design).
-
Click on the
 Office button or

 the File tab and select New.
Word 2007 opens a dialog. Word 2010, 2013, and 2016 open a pane in Backstage view.
-
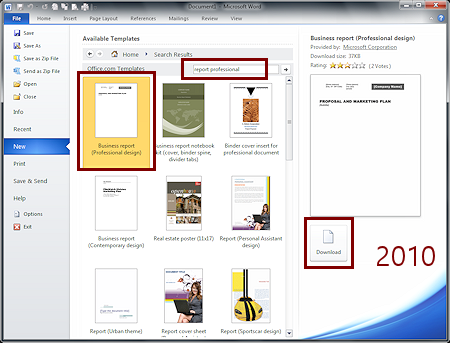
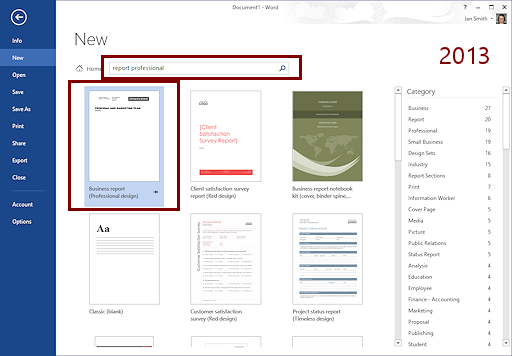
Type in the search box the key words report professional and press ENTER.
Word goes online to search for matching templates. Business report (Professional design) should show in the list, probably first.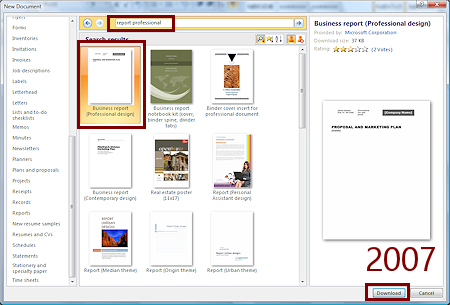
This particular template does not show in the list you get by opening various categories. There are clearly more templates available than will show that way.
Word 2007, 2010: Click the Download button.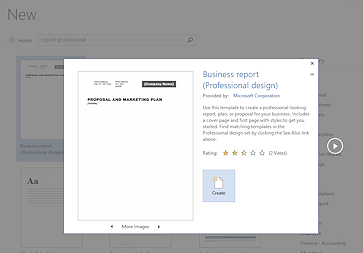 Word 2013, 2016: Click the template thumbnail.
A popup shows a larger view of the template with a description.New feature: Click the arrow below the thumbnail to see other pages in the template. This template only has two pages. Earlier versions could show only one thumbnail.
The arrow in a circle at the right of the popup takes you to the next template in the search results.
Click the Create button.
 Problem: Can't find the report template
The templates that Microsoft makes available will change over time. This template may at some point be dropped from the list, just like the template that was in earlier versions of these lessons.
Solution: A copy is in your words resources folder with the name BusinessReport-ProfessionsalDesign.dotx. Navigate to it and double-click the file. Or download the online copy.The template downloads and Word uses it to create a new document. The downloaded template is stored on your computer so it won't have to download the next time, even though the interface may say Download.
The new template is saved in a folder, similar to:
C:\Users\<username>\AppData\Roaming\Microsoft\Templates
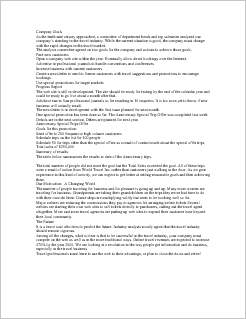
The new 2-page report contains temporary text. You will modify this a lot, but it is a big help to have a base plan with styles already created.
-
Read through the template. The main text explains how this template works. Any text between square brackets, like [Company Name], is from a field. You can print the template if you would like to keep the tips handy for later.
-
 Save on your Class disk in a folder named word project4 as
report-WorldTravelInc-Lastname-Firstname.docx.
(If necessary, create the folder.)
Replace Titles
-
 On the first page
delete the contact information and change the Company Name to World Travel Inc.
On the first page
delete the contact information and change the Company Name to World Travel Inc.
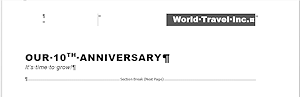
Change the main title to Our 10th Anniversary
Change the subtitle to It's time to grow!
- If necessary, select the "th" in 10th and
on the Home tab click the superscript button
 to put the "th" up high.
AutoFormat While You Type should do this automatically, if it is on.
 Click in the company name at the top of the page.
A table selection box appears at the top left of a table. The company name shows that it is a field.
- Click on the selection box to select the whole table that runs across the top of the page.
There is still a vertical bar showing. It previously divided the two sets of text that you deleted. You need to get rid of the border. -
On the Home tab in the Paragraph tab group, click the Borders button to open the list and select No Borders.
Alternate method: Use the Border button on the Table Tools: Design tab in the Table Styles tab group. The vertical line vanishes. The table is still there.
-
 Check Print Preview to see that the vertical lines are gone.
-
Save as report-WorldTravelInc2-Lastname-Firstname.docx
Notice the 2 in the name. Normally you have been changing the number of the file only at the beginning of a new lesson. Doing so now lets you back up to a file that has just a few changes in it, in case you need to start over.
You may see one or more messages now or later as you make changes to this document about repairing errors and saving changes to the underlying template.
Delete Table
After the first page there is a small table at the top of the pages
with a chapter number. Your
document won't be long enough to break it into chapters so you do not
need this text. (Aren't you
glad!?)
-
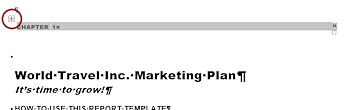 On page 2 of the report, hover over the words Chapter 1 at the top.
A table selection box
appears.
- Click on on the table selection box .
The whole small table at the top is selected. It contains the text Chapter 1 .
If you press the DELETE key, the text is deleted but the table itself is not deleted.
 On
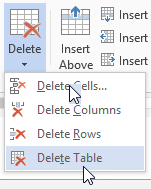
the Table Tools: Layout tab in the Rows & Columns tab group, click on the Delete button to open its menu.
On
the Table Tools: Layout tab in the Rows & Columns tab group, click on the Delete button to open its menu.
-
Click on Delete Table.
The whole table is deleted, not just the text.
 Alternate
methods for Word 2010, 2013, 2016:
Alternate
methods for Word 2010, 2013, 2016: 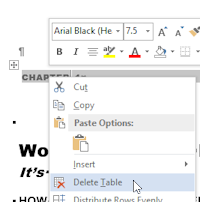 Method 1: Select the table with the Table Selection button. Right click on the table. Click Delete Table on the context
menu.
Method 1: Select the table with the Table Selection button. Right click on the table. Click Delete Table on the context
menu.
 Method 2: Right click on the selected table and from the Mini-Toolbar click on Delete. Select Delete Table from the menu.
- Save.
[report-WorldTravelInc2-Lastname-Firstname.docx]
Replace Text
Before you make more changes, be sure that you read what the template's text explains about how this template works. Some features may not make sense just yet. You will insert the main text for the document from another document that has already been written for you.
 Inspect page 2.
Some parts changed after you entered text on page 1.
The company name is part of the title and the subtitle for page 1 appears on page two automatically. These changes occur because you typed text into fields that were on page 1.
-
 On page 2, change the text for the title to match what you did on page 1.
- Select the temporary text below the line HOW TO USE THIS REPORT TEMPLATE, press DELETE to remove it from
the document.
-
Apply Normal style to the line HOW TO USE THIS REPORT TEMPLATE and then delete the text without deleting the paragraph mark.
These steps ensure that you have a Normal paragraph left for the text you are going to insert.
- Insert text from file:
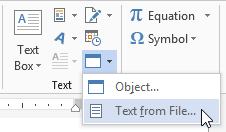 With the cursor in the last line (that you just cleared of text), from
the Insert tab click on the button Object and then on Text from File...
With the cursor in the last line (that you just cleared of text), from
the Insert tab click on the button Object and then on Text from File...
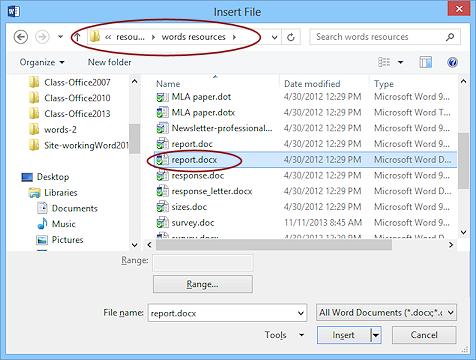
The Insert File dialog opens.
- Navigate in the dialog to your resources files and select report.docx in the words resources folder
and click on Insert.
The full path is: c:\My Documents\complit101\words\report.docx
if you used the default location for the resource files.OR
Click on this link
 to the online copy of report.docx.
Download it, remembering where you saved it. Then navigate in the
Insert File folder to that location, select it, and click on Insert.
to the online copy of report.docx.
Download it, remembering where you saved it. Then navigate in the
Insert File folder to that location, select it, and click on Insert.All of the text in report.docx is pasted into your document at the cursor location.
-
Save.
[report-WorldTravelInc2-Lastname-Firstname.docx]
Alternate method: Copy and Paste
 Open the document you
want to include and select all of its contents.
(CTRL + A or .)
Open the document you
want to include and select all of its contents.
(CTRL + A or .)
Copy.
Switch to the
destination document and paste in the new location.
![]() Problem:
Message appears about file being blocked
Problem:
Message appears about file being blocked
You selected report.doc from the resources folder
instead of report.docx. The older
format is blocked by default as a security measure of some sort.
Solution: Try again
and select the correct file.
Apply Styles
- If necessary, open the Styles pane and verify that all styles are showing.
If they are not (they probably are not), change the Options to Show all.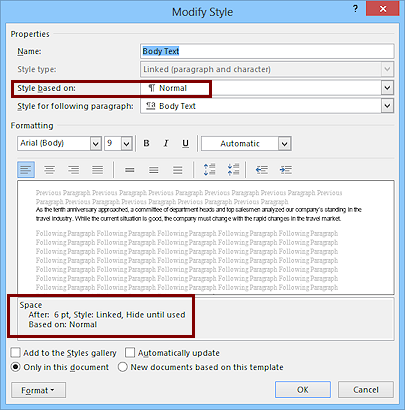
- Select all of the pasted text and apply the Body Text style from the Styles pane.
It does not show in the Styles gallery yet.
- Click the arrow beside the Body Text style in the Styles pane and select Modify... to see the details.
Font: Arial, 9 pt
Space After: 6 pt
Style: Linked
Hide until used
Based on: Normal
-
Click on Cancel to close the dialog without making any changes.
Did you notice that the new text is only 9 pt? Later we may decide that is too small, or maybe not!
Click in each of the lines listed below and use CTRL + ALT + 1 to apply the Heading 1 style:
Company Goals
Progress Report
Anniversary Special Trips Offer
Our Motivation: A Changing World
The Future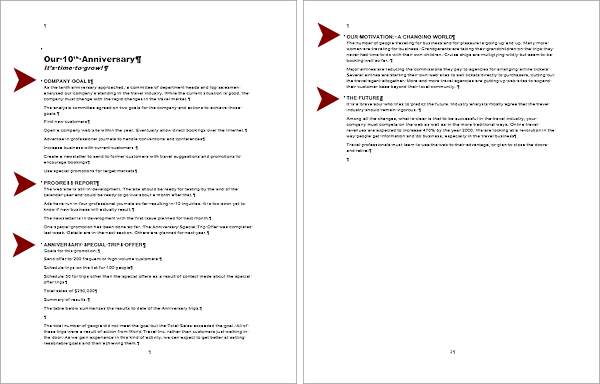 Problem: Styles Pane applies the wrong style
[January, 2016: In Word 2016 on Windows 10 the Styles pane does not apply the style that I click on. It applies a random(?) nearby style instead. This is a known issue after a particular Office update. Hope they fix this soon. ]
Solution: Use the Apply Style dialog instead.
To open the Apply Style dialog:
Method 1: Key combo: CTRL + SHIFT + S
Method 2: Right click on the text and click on the Styles button on the Mini-Toolbar. In the menu that appears, click on Apply Styles. Select your style from the drop list in the Apply Styles dialog. Unlike the Styles pane, this dialog does not use format the name of the style with the style.
- Apply the style Bulleted List Bold from the Styles list
to two lines:
Find new customers
and
Increase business with current customers .
Remember that the Manage Styles button at the bottom of the Styles pane lets you change the order in which the styles are shown.
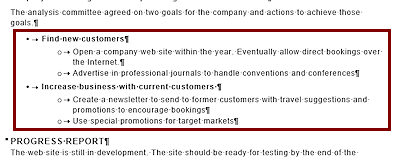 For the actions named underneath each line you just formatted
with List Bullet Bold, apply the style Bulleted List and click on
the Increase Indent button
For the actions named underneath each line you just formatted
with List Bullet Bold, apply the style Bulleted List and click on
the Increase Indent button  once.
once.
-
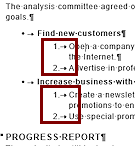 Put the cursor in the paragraph Open a company web site... and click the
  Numbering button to change from bullets to numbers.
Surprise! All of the paragraphs you just styled with Bulleted List are updated to numbers! In earlier versions of Word this was not so and was a pain to fix.
- Make Bold the lines Goals for this promotion and Summary of Results
-
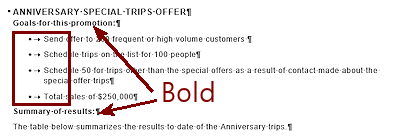 Select the 4 paragraphs after Goals for this promotion.
- Click the Bullet button
 on the Home tab or Mini-Toolbar.
The paragraphs indent and get the default black disk bullet.
- Save.
[report-WorldTravelInc2-Lastname-Firstname.docx]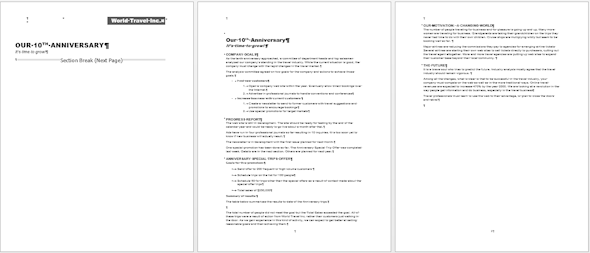
|
|
| © 1997-2017 Jan Smith All Rights Reserved |
Site Map What's New |
Privacy Policy Terms of Service Copyright Acknowledgements |
~~ 1 Cor. 10:31 ...whatever you do, do it all for the glory of God. ~~
Last updated: March 22, 2017