Project 2: AutoTools
AutoFormat

Did you want: Working with Words: Word 2007,2010,2013,2016 or español
Project 2: AutoTools |
Did you want: Working with Words: Word 2007,2010,2013,2016 or español | |||||
|
| ||||||
|
In Word Basics: Help Topics you used the AutoFormat and AutoCorrect features to format symbols like © and special characters like 1st. You can also apply AutoFormat to a whole document. Word will apply standard paragraph styles and also do things like eliminating extra blank lines and spaces. Word needs some clues before it can make any guesses as to what your document should look like. You must indicate which lines are titles, which are headings, and which are lists. Word will consider things like bolding, centering, indentions and paragraph styles. |
Project 2: Auto Tools Search Glossary |
Start with:
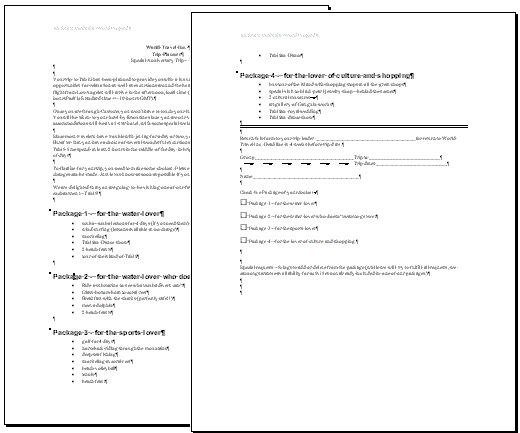
You will apply some basic formatting to your Trip Planner document to let Word know what kinds of paragraphs you have. Then, in the next lesson, you will let AutoFormat improve the look of your document. Title & Subtitles
Headings
Create Dividing Line
Lists - Bullet & Indent
| ||||||||||
|
~~ 1 Cor. 10:31 ...whatever you do, do it all for the glory of God. ~~ |
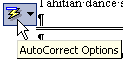 When
your mouse pointer hovers over this button, a drop list arrow appears.
When
your mouse pointer hovers over this button, a drop list arrow appears.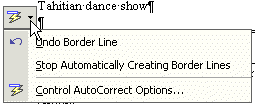 If
you click on the arrow, a short menu appears that allows you to manage the
automatic features.
If
you click on the arrow, a short menu appears that allows you to manage the
automatic features.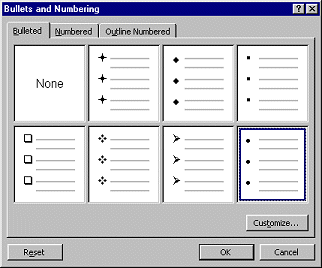 While selected, right click on the selection and choose Bullets
and Numbering from the popup menu.
While selected, right click on the selection and choose Bullets
and Numbering from the popup menu.