 |
Exercise Word 2-2: Template - World Travel
|
What you will do: |
create a template from an existing
document
|
Start with: ,
Show Marks is on, response.doc from resource files ,
Show Marks is on, response.doc from resource files
- Open response.doc from your word resource
files again. You could use letter-AAA.doc from your Class disk
but there is a risk of accidentally overwriting your
document.
-
Use | to save the document as a template to your
Class disk in the word
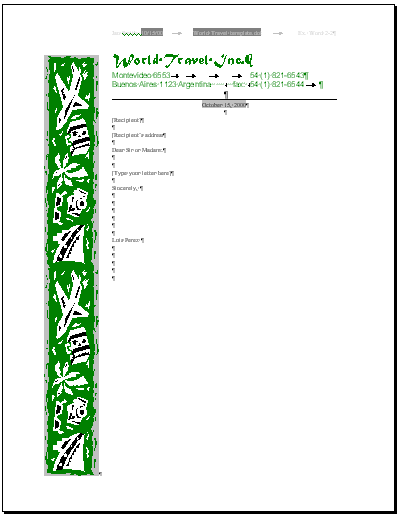
project2 folder with the name World
Travel template.dot
 How to handle a full disk
- Replace
Date with Date Field:
Select
the date. From the menu select | .

 Choose category
Date and Time. Choose Field name Date.
Click the Options button. From the list of General
Switches, choose MMMM d, yyyy. Click the button
Add to Field. Click on OK and then on OK again. Choose category
Date and Time. Choose Field name Date.
Click the Options button. From the list of General
Switches, choose MMMM d, yyyy. Click the button
Add to Field. Click on OK and then on OK again.
  Choose Date from the list of
Field names. From the list of Date formats, choose the one similar to April 3,
2003. The Field Properties: Date formats box should show MMMM d,
yyyy. Click on OK. Choose Date from the list of
Field names. From the list of Date formats, choose the one similar to April 3,
2003. The Field Properties: Date formats box should show MMMM d,
yyyy. Click on OK.
Your
letter template now has a field that will
automatically use today's date when you create a new letter. The
date should have a gray background (which will not print). If it
doesn't, choose Tools | Options... | View | Field shading =
Always.
- Replace Recipient
info: Select the inside address (Sandra Green…) and replace
with the two lines below:
[Recipient]
[Recipient's address]
- Replace Salutation:
Select the Salutation and use | to replace it with: Dear Sir or Madam:
- Replace Body: Select
the body of the letter and replace it with: [Type your letter here.]
- Delete the Enclosure lines at the bottom.
- Header: Create a header including your name, 2
spaces, the date, tab.
Then insert the file's name using
| | . Tab
again and type Ex. Word2-2 Adjust positions in the header by dragging the center tab to 2.5" and the right
tab at the right margin to the 5" mark.
- Pre-Print: Correct
the spelling again. Check for errors with Print Preview.
- Preview,
Save
 Print. Print.
|

These exercises use files from the word resource files. The default location for these files is c:\My Documents\complit101\words\
Save the documents to your Class disk as you make changes. These files are Read-Only so that you cannot save them in the original place. This keeps the original resource files intact in case you need to start over or another student will be using this same computer.