|
Step-by-Step: More Images in FPX
|
 |
| What you will learn: |
to insert multiple images
to create spaces between images
how download time increases with each image |
Start with:
 ,
,
 hector7.htm,
resource files
View IMG Tag
FrontPage Express creates a basic IMG tag for you when
you use the Insert image button. Later you will use the Image Properties
dialog to set other attributes.
- From the menu select |
- Scroll the code in the window to see the IMG tag.

FrontPage Express placed the basic IMG tag between
the P tags.
The width and height are for the size that you set by
dragging. Your numbers are probably different. That is not a problem.
The width and height dimensions are in
pixels. A pixel is the
smallest dot that can be displayed on your monitor screen.
FPX color codes the tag
names in purple, attributes
in red, and the values
in blue. This is certainly easier than typing
that tag yourself!
- Close the code window.
Spaces
Shortly you will be inserting images of the two
children, Ricardo and Rosa, on the same line as the image of Hector and
Carla. You need some space between the images. It can be hard to tell how
many spaces you have.
 If the pictures need more
space than the window allows, they will wrap just like text does.
- Click to the right of the image and put the cursor on
the same text line.
-
 Press
the spacebar several times.
Hmmm. Notice where the cursor is now. No matter how many times you
pressed the spacebar, only one space was created! This is certainly not
like a word processor!
-
 Open
the HTML code again. ( |
) and scroll to the IMG tag. There is
just a single space between the end of the IMG tag and the closing
paragraph tag </p>.
 Any sequence of spaces
in your HTML code collapses to only 1 space when you view your page in a
browser.
Oddly, there does not seem to be a way to create more spaces Using
FPX buttons or menus. There is a way to do it with the HTML code,
however- if you type carefully.
-
 Type
between the
 > that ends the IMG tag and the <
that starts the closing paragraph tag, the characters
Each creates a space. The letters for this code
come from the words non-breaking space. The
& ampersand and the ; semicolon are just
as important as the letters! Do not leave anything out. You can create
as many spaces as you like with this code.
-
 Close
the HTML window.
- Scroll back to the image and press the END key to be
sure your cursor is at the end of the line.
- Press the left arrow key 3 times. It should now be
directly next to the picture. You cannot count spaces by looking
at a page, but you can count using the arrow keys.
-
 Press the DELETE key twice to remove two of the spaces. This
leaves just one space to the right of the image again. This time you do
not really need much space between the photos.
- Check the HTML code again for the paragraph to be sure you
removed all but one space. ( |
)
- Close the HTML window.
-
 Use the menu | to save the page as hector8.htm in
the web folder of your Class disk.
Insert More Images
Now you can insert the photos of Ricardo and Rosa.
- Press the END key to be sure the cursor is at the end of the
line with the photo.
- Click on
 the Insert image button.
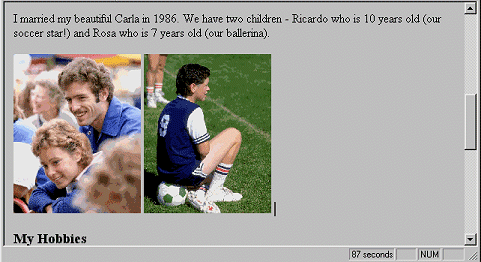
- Insert the photo of Ricardo using the path
a:\my docs\web\ricardo.jpg
- Resize the image by dragging it to the same height as the
picture of Hector and Carla.

- Click to the right of the photo of Ricardo and press
the spacebar once to add a blank space.
- Look at the status bar for the estimated loading time = 87
seconds!
This is s-l-0-w.
- Click on
 the Insert image button again.
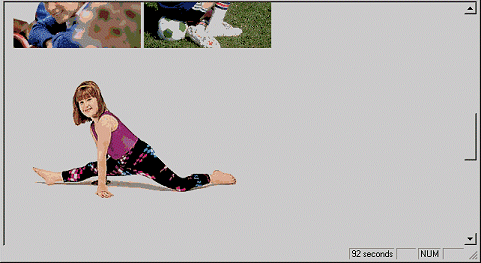
- Insert the photo of Rosa using the path
a:\my docs\web\rosa.jpg
If your window size is small or you are using 640 x 480 resolution,
Rosa's photo may wrap below the first two. This image seems to be nearly
the same height as the others, so you can leave it as it is for now.
Look at the new estimated loading time - 92 seconds. This is
getting bad!

 Save. [hector8.htm]
In a later lesson you will reduce the horrendously high download times by
replacing these images with correctly sized ones.
 More Images
![]()
![]()