
Jan's Working with Words
AutoTools: Margins & Breaks: Page Breaks
As you work with a document, you may decide that parts should be on separate pages. You can force Word to start a new page, even if there is room left on the page for more text. Word is happy to cooperate. It gives you three ways to put in a page break.
|
|
Step-by-Step: Page Breaks |
|
| What you will learn: | to insert page breaks with key combo and 2 buttons to add titles for pages |
Start with:![]() ,
trip_planner5-Lastname-Firstname.docx
,
trip_planner5-Lastname-Firstname.docx
Add Page Break: Key Combo
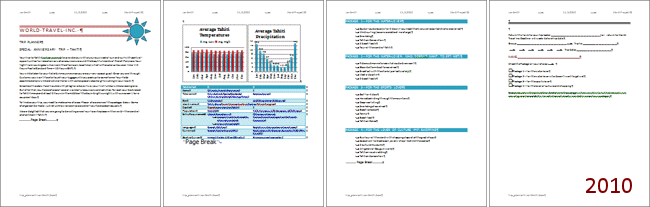
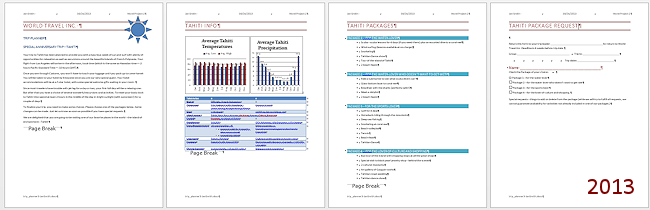
Your document is getting a bit long but there is more to add! You need to put in some hard page breaks to manage the flow from page to page. You will divide the document into an introduction page, a page for the charts and table, a page about the packages that are available, and the request form.
-
 Save as trip_planner6-Lastname-Firstname.docx
 -
 On
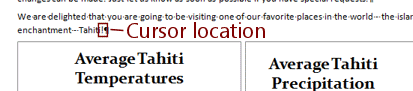
the first page, put the cursor at the end of the paragraph that is just before the charts.
On
the first page, put the cursor at the end of the paragraph that is just before the charts. -
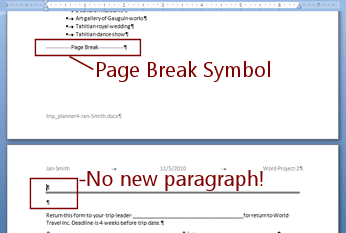
 Use the key combo CTRL+ ENTER to insert a hard page break.
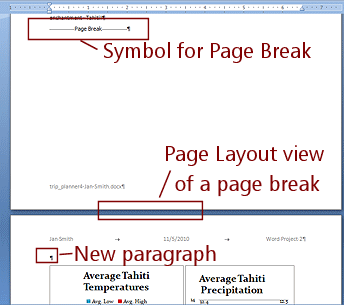
The Page Break symbol appears on the line below the cursor location. The rest of the document moves, starting at the top of the next page.
New Paragraph's Style: A new blank paragraph shows at the top of the next page using the same style as the paragraph before the page break. This occurs when you insert a page break with the cursor at the end of a paragraph. You will actually use this new paragraph shortly.
-
Save.
[trip_planner6-Lastname-Firstname.docx]
Add Page Break: Ribbon - Breaks Button
It's a bit tricky to insert a page break directly before or after an object like a chart or table. It can be hard to see where the cursor actually is.
-
 Put
the cursor at the far left of the line 'Package 1 - For Water
Lovers'.
Put
the cursor at the far left of the line 'Package 1 - For Water
Lovers'.
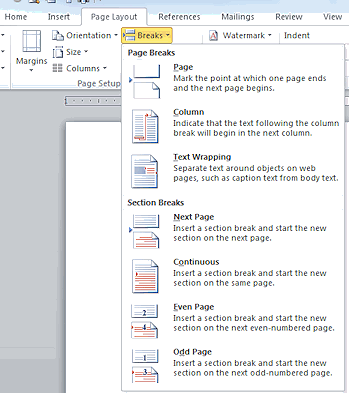
- On the Page Layout tab in the
Page Setup group, click
the button Breaks.
The list of types of breaks opens. -
 Click
on Page Break.
Click
on Page Break.
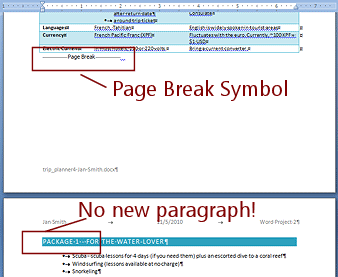
A new page starts with the Package 1 line.
This time there is no new paragraph at the top of the page! You had the cursor at the beginning of a paragraph instead of the end. Problem:
Background color shows on Page Break line
Problem:
Background color shows on Page Break line
Frequently, when a paragraph has background color or borders, the line that shows 'Page Break' inherits that formatting.Solution 1: Click in the selection area beside the line with 'Page Break' to select it. Apply a style that does not have background or borders, like Normal style, or manually set the features that are showing to None.
Solution 2: Undo the page break. Insert a blank line before the line before the line you want to see at the top of the next page. Format the new blank line with Normal style. Put the cursor back at the beginning of the line you want at the top of the next page and insert a Page Break.
- Save
[trip_planner6-Lastname-Firstname.docx ]
Add Page Break: Ribbon - Page Break Button
- Put the cursor at the blank paragraph after the list for Package 4. The paragraph has the double bottom
border.
-
 On
the Insert tab in the
Pages tab group, click the
Page Break button.
On
the Insert tab in the
Pages tab group, click the
Page Break button.
The blank paragraph and its double line border move to the next page.You did not get a new blank paragraph this time either. It's all in where the cursor is.
-
 Save.
Save.
[trip_planner6-Lastname-Firstname.docx ]The document has 4 pages now.

Add Titles to Pages
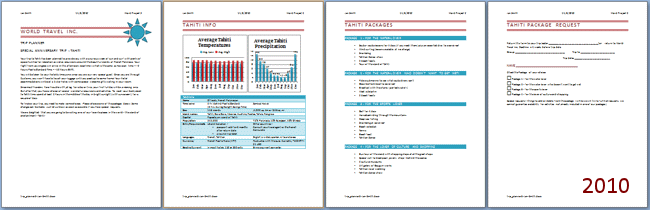
Now that you have 4 pages with specific content, you can put titles on each one.
- On page 2, put your cursor in the blank paragraph at the top,
just above the charts.
- Apply the Title style.
- Type Tahiti Info.
- On page 3, put your cursor at the left of the first line,
Package 1.
- Press the ENTER key to create a new line.
- Move your cursor to the new line and apply the Title
style.
- Type Tahiti Packages.
- On page 4, put your cursor at the left of the first line, with
the double line border.
- Apply the Title style.
The original border is replaced with the Title style border.
- Type Tahiti Package Request.
- Save.
[trip_planner6-Lastname-Firstname.docx ]
|
|
| © 1997-2017 Jan Smith All Rights Reserved |
Site Map What's New |
Privacy Policy Terms of Service Copyright Acknowledgements |
~~ 1 Cor. 10:31 ...whatever you do, do it all for the glory of God. ~~
Last updated: March 22, 2017
How to create a page break:
Ribbon: Page Layout > Page Setup > Breaks > Page Break
Ribbon: Insert > Pages > Page Break