PowerPoint Basics:
Outline

Did you want: Working with Presentations: PowerPoint 2007,2010,2013,2016 or español
PowerPoint Basics:
|
|
|||||
|
Did you want: Working with Presentations: PowerPoint 2007,2010,2013,2016 or español |
||||||
|
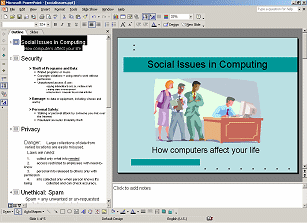
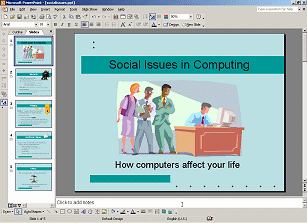
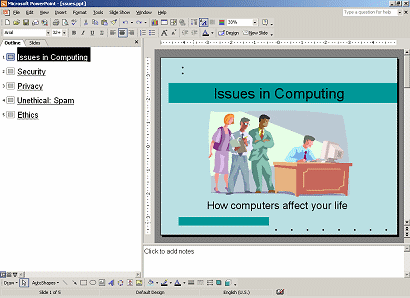
The Navigation Pane at the left of the PowerPoint window shows the Outline or thumbnails of the Slides.
|
Project 1: PowerPoint Basics Project 2: PowerPoint Formatting Project 3: Advanced PowerPoint |
|||||||||||||
Outline in Navigation PaneWhat can you do with the outline?
What can't you do with the outline?
|
||||||||||||||
|
Text labels in large windows. |
Icon labels in small windows. |
|
|
Step-by-Step:Outline |
|
What you will learn: |
to change which slide is shown in the Slide Pane to expand and collapse the outline to show and hide formatting in the outline to edit in the outline to change slide order |
Start with:![]() ,
issues.ppt
from your Class disk
,
issues.ppt
from your Class disk
 If
necessary, open issues.ppt again.
If
necessary, open issues.ppt again.Two useful buttons are on the Standard toolbar help you manage how your outline displays. These buttons are also in the Outlining toolbar, which you will work with later.
![]() Show Formatting: Toggles the outline's formatting
between using the same formatting as the slides and using a default format.
Show Formatting: Toggles the outline's formatting
between using the same formatting as the slides and using a default format.
![]() Expand all: Toggles the outline between showing
just the slide titles and showing all the placeholder text.
Expand all: Toggles the outline between showing
just the slide titles and showing all the placeholder text.
 Click
on
Click
on
 Click
the Expand All
Click
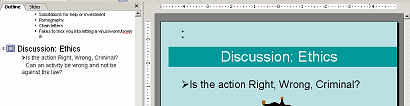
the Expand All The last slide, #5, will be used to open a discussion period with the audience. You need to change the title to reflect this. You will make a few more editing changes, too.
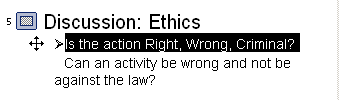 Select
a whole line:
Select
a whole line: 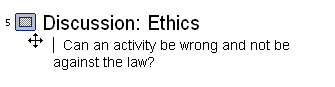 Delete
line:
Delete
line: 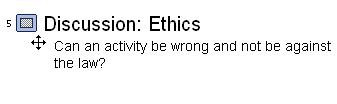 Delete
space:
Delete
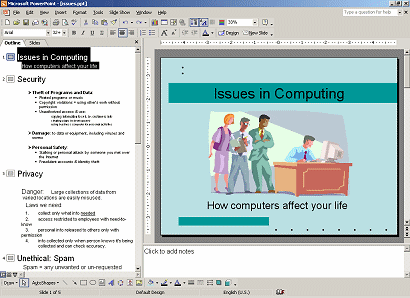
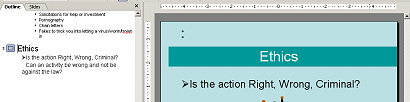
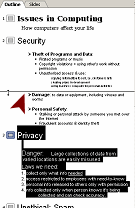
space: 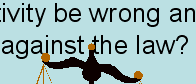 Looks good in the outline now. But part of the text is under the image.
You cannot fix this from the outline.
Looks good in the outline now. But part of the text is under the image.
You cannot fix this from the outline.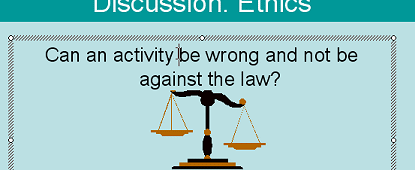 Click
on the slide in the text "Can an activity...".
Click
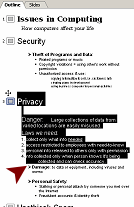
on the slide in the text "Can an activity...".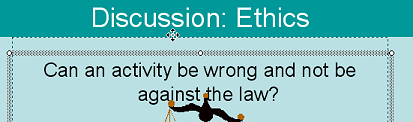 Move
placeholder: Move your mouse pointer over the border of the placeholder
and drag upwards.
Move
placeholder: Move your mouse pointer over the border of the placeholder
and drag upwards. 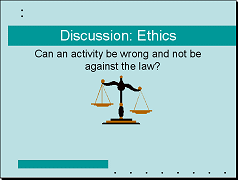 Drop
when the dashed line is at the edge of the colored bar with the title.
Drop
when the dashed line is at the edge of the colored bar with the title.You can drag text in the outline to a new location on the same slide or on a different slide. If the slides are not neighbors, you might find cut and paste easier.
 Scroll,
if necessary, to see Slide #3: Privacy
in the Outline.
Scroll,
if necessary, to see Slide #3: Privacy
in the Outline.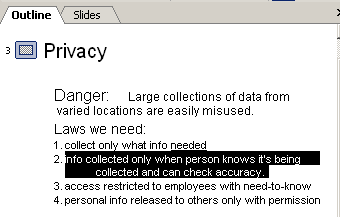
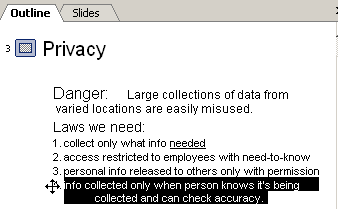
 Drag
upward and drop at the beginning of item #2.
Drag
upward and drop at the beginning of item #2. You can change the order of slides in the outline as well as from the Slides thumbnails. Usually this is easier if you collapse the outline first. Dropping in the middle of a slide's outline can make a mess of your outline!
 With
the outline still expanded, click on the icon
With
the outline still expanded, click on the icon
 Drop.
Whoops. The outline points on the Security slide below the drop point are
now on the Privacy slide! Error!!
Drop.
Whoops. The outline points on the Security slide below the drop point are
now on the Privacy slide! Error!!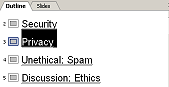 Collapse the outline by clicking
 Drag
the slide icon for Privacy up above Security and drop. Ah! The slides are
in a new order.
Drag
the slide icon for Privacy up above Security and drop. Ah! The slides are
in a new order.
![]() Problem:
Problem:
You have some text in a text box that you want to show in the outline.
Solution: You must move the text into a placeholder. There is no way to convert a text box into a placeholder.
![]() Problem:
Placeholder or Text Box?
Problem:
Placeholder or Text Box?
You cannot tell by looking at the box whether the text is in a
placeholder or in a textbox.
Solution 1: Check the outline. If the text is in the outline, it's a placeholder.
Solution 2: (easier!) Right click the text and see what the popup menu offers:
or .
![]() Text in textboxes
that you create or in AutoShapes does not show in the outline.
Text in textboxes
that you create or in AutoShapes does not show in the outline.
~~ 1 Cor. 10:31 ...whatever you do, do it all for the glory of God. ~~ Last updated: 30 Apr 2012 |