PowerPoint Basics:
Slides Thumbnails

Did you want: Working with Presentations: PowerPoint 2007,2010,2013,2016 or español
PowerPoint Basics:
|
|
|||||
|
Did you want: Working with Presentations: PowerPoint 2007,2010,2013,2016 or español |
||||||
|
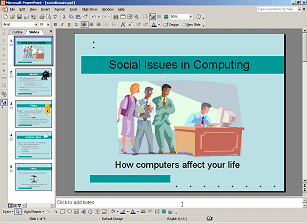
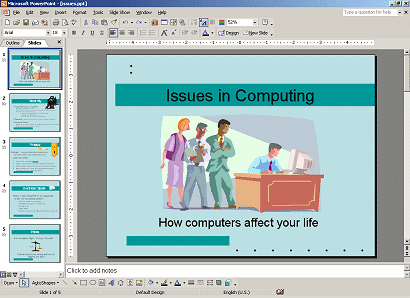
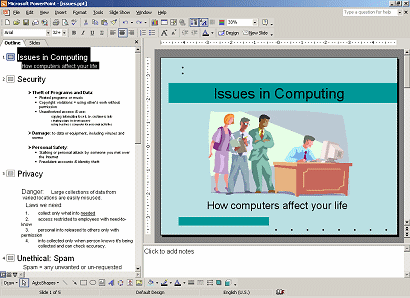
The Navigation Pane at the left of the PowerPoint 2002/03 window shows thumbnails of the Slides by default.
|
Project 1: PowerPoint Basics Project 2: PowerPoint Formatting Project 3: Advanced PowerPoint |
|||||||||||||||
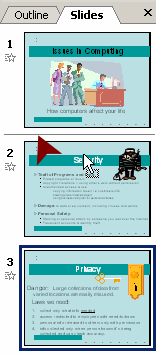
Slide Thumbnails in Navigation PaneWhat can you do with slide thumbnails?
What can you not do with slide thumbnails?
|
||||||||||||||||
|
Text labels in large windows. |
Icon labels in small windows. |
|
|
Step-by-Step:Slide Thumbnails |
|
What you will learn: |
to change which slide is shown in the Slide Pane to run animation to change order of slides to switch to Outline view |
Start with:![]() ,
issues.ppt
from your Class disk
,
issues.ppt
from your Class disk
 If necessary, open
issues.ppt
again. (It should be in a Recent Files list.)
If necessary, open
issues.ppt
again. (It should be in a Recent Files list.) Click
on the animation icon below the number 1 by the thumbnail of Slide #1. In
the Slide Pane to the right, the custom animation plays - Subtitle moves
onto the screen from below.
Click
on the animation icon below the number 1 by the thumbnail of Slide #1. In
the Slide Pane to the right, the custom animation plays - Subtitle moves
onto the screen from below.
Position line shows where |
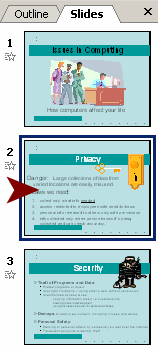
Privacy is now Slide #2 |
~~ 1 Cor. 10:31 ...whatever you do, do it all for the glory of God. ~~ Last updated: 30 Apr 2012 |