Excel Basics:
Appearance

Did you want Working with Numbers: 2007,2010,2013,2016 or
español![]()
Excel Basics:
|
|
|||||
|
|
||||||
|
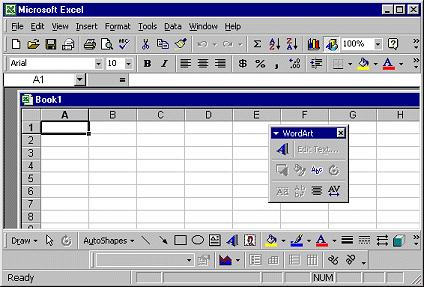
It can be confusing if your results don't match mine. It helps if your Excel window has the same parts showing. Unfortunately even if all your settings are the same as mine, the size of your monitor and the resolution that you use can still make your documents look different from the illustrations. Don' t let it make you too crazy!
|
Project 2: Excel Basics
Search Glossary Appendix |
|||||||||||||
Start with:
~~ 1 Cor. 10:31 ...whatever you do, do it all for the glory of God. ~~ |
||||||||||||||
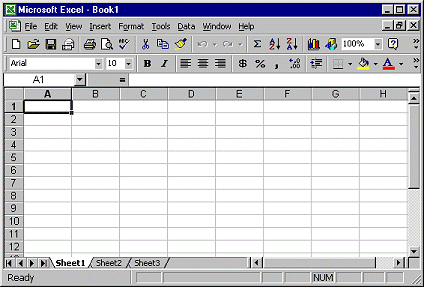
 Excel Window
Maximized:
Excel Window
Maximized: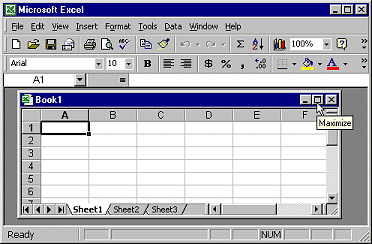 Workbook
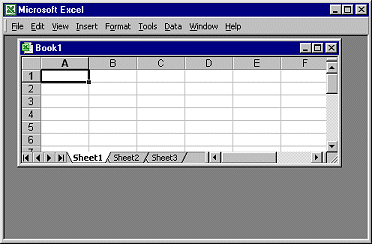
Window Maximized within the Excel window:
Workbook
Window Maximized within the Excel window:  Bars
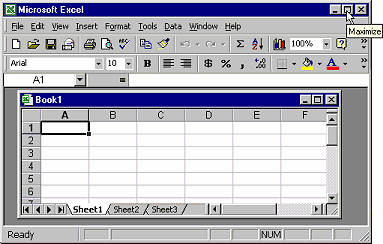
Showing:
Bars
Showing: 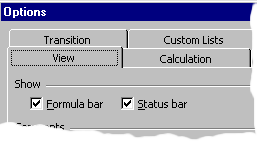 Formula and Status bars:
From the menu select
Formula and Status bars:
From the menu select